

First Reupholstery Project (below)

Before

After
And by gathering supplies, I mean fabric and trim from U-fab. I had a staple gun, glue gun, and my husband's tools, so I hoped that will be adequate....
First the history of the chair. My neighbors were having a yard sale this past summer. I had decided to take the children and walk down the street when I received a call from another neighbor informing me that she had seen some chairs at the sale that "looked like something I might like." She was right. I purchased two wing chairs and this other chair. I'm pretty sure I'll never reupholster the wing chairs, but I'm a sucker for a good deal and potential DIY project. Since that time, the chair has been in the attic waiting for a makeover.

TIPS/HOW-TO REUPHOLSTER A CHAIR
Part 1 PLANNING
Part 1 PLANNING
First, it is good to have an idea of how you would like the chair to look.
Check-out Pinterest. Peruse the internet. While you're at it, pin some tutorials on reupholstering. It never hurts to have a few different methods. Here are some chairs that Jenny at Little Green Notebook reupholstered:
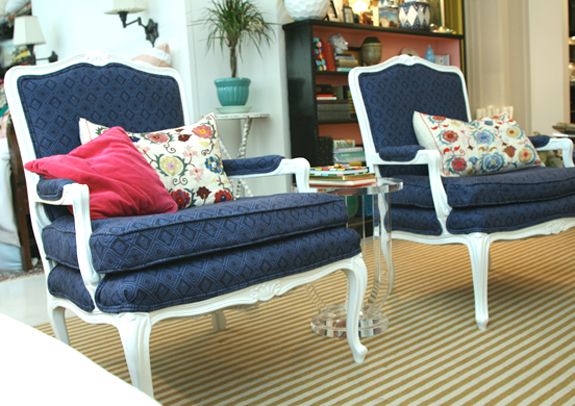
Also, I went to Ballard Designs and "designed" a chair. I choose fabric that had colors close to what I was using and then selected the "finish" to see what look I liked best:
Some tutorials include:
Part 2 DECONSTRUCTING YOUR CHAIR
Okay, now it is time to deconstruct your chair. You are going to take it apart being careful not to rip the pieces and fabric. You'll want to take lots of pictures (to help you know how to put it back together) and label pieces. It's a good idea to have: needle nose pliers, scissors, screwdrivers, sharpies and any other tools that might help pry off the fabric.
Aside: My husband is always supremely annoyed by these projects. He doesn't appreciate how much money I am saving him by spending less money. He also doesn't appreciate my getting into his tools and making a general mess of things.
Deconstructing the chair is time-consuming and labor intensive. You wouldn't think it would be, but it is. Don't even think about preserving your manicure; be prepared to have your nails destroyed...and to work up a sweat. You might even lose some blood. You MUST have a pair of needle nose pliers to deconstruct. You don't have to remove every staple, though. I found myself removing some then using the needle nose pliers to pull the fabric away from the chair. This may cause it to rip, which is okay if it is just a little bit and you can reconstruct the shape of the fabric afterwards. Sometimes when you use the pliers to pull the fabric, you will pull out additional staples which is the goal. You'll get better at it as you go along.


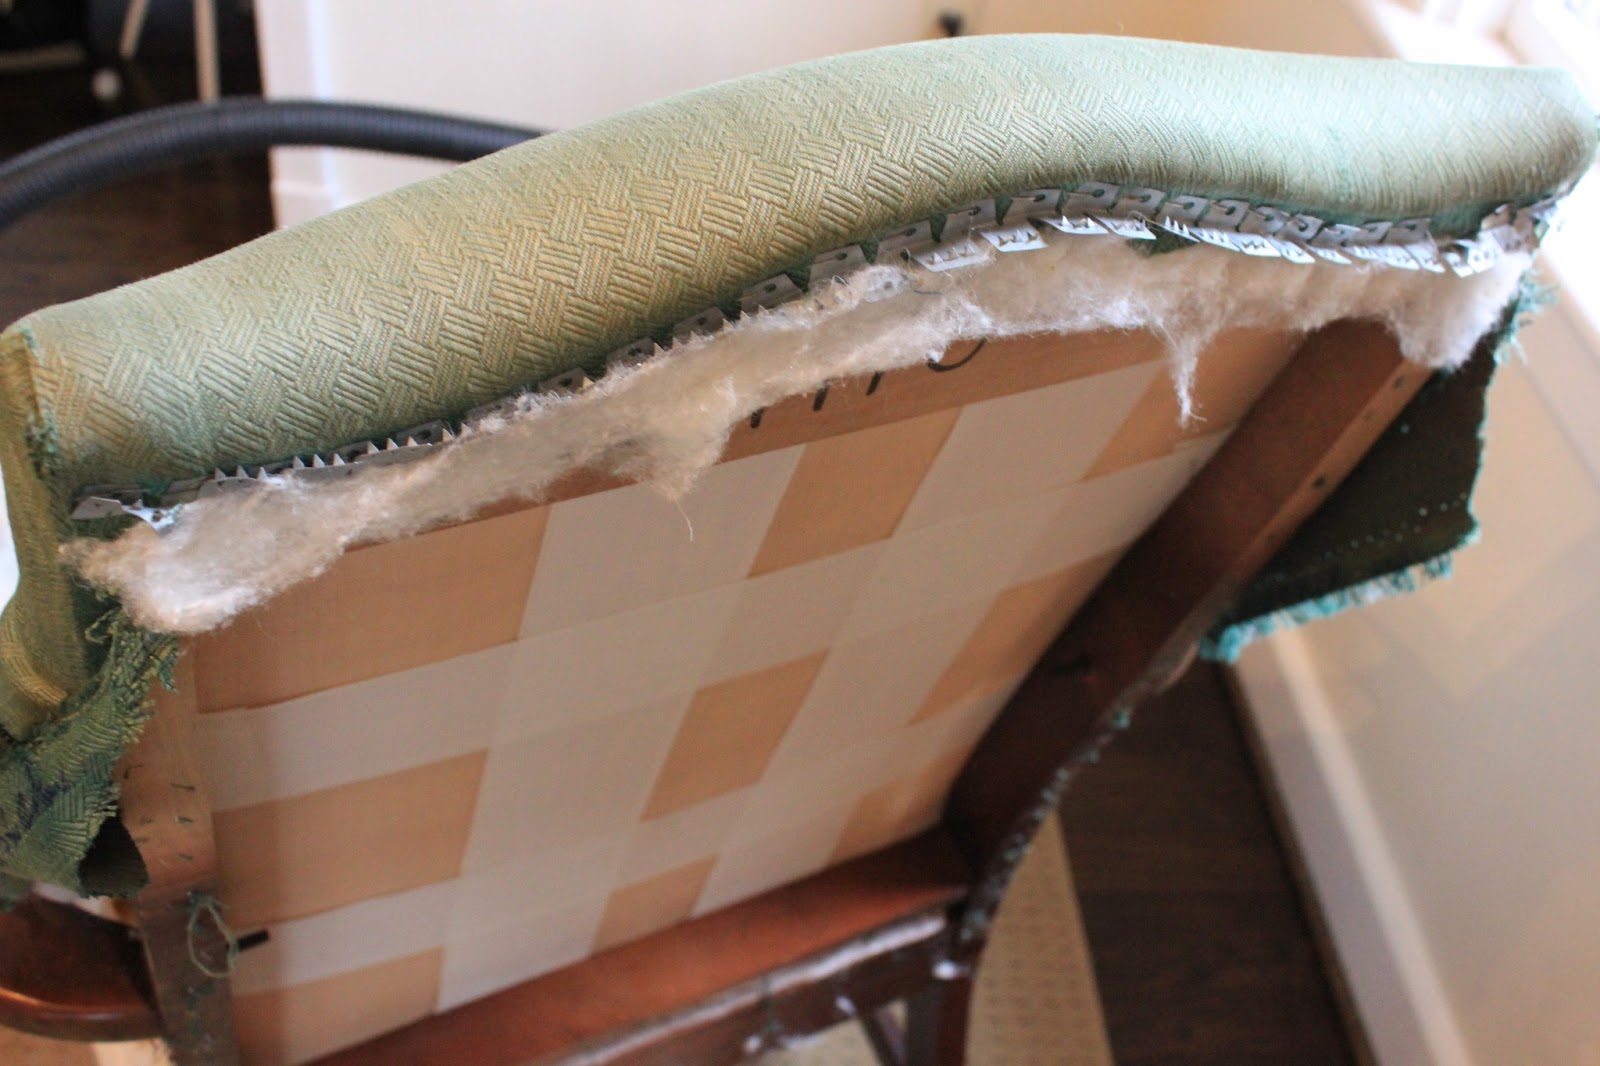


After taking apart my chair, I decided that I would keep the foam, batting, and metal upholstry supplies though I may add some more batting. I keep the jagged metal (see below) that was attached to the chair thinking I might use it, but it didn't work...more on that later.


Part 3 CUTTING YOUR FABRIC

If you are using a patterned fabric as I am, this step will be a little more difficult. You have to think ahead to how your fabric will line up. I lined up my old fabric with the selvage of my new fabric. I still had to adjust when I was stapling the fabric to the chair, but lining up the fabric before cutting probably helped.

I always buy more fabric than I need--just in case I make a mistake which is highly likely.

Part 4 PAINTING AND SANDING YOUR CHAIR
I decided to paint my chair white. Again, this decision was based almost solely on the paint available in the attic based on the fact that I did not want to leave the house. There was a quarter can of BM Decorator's White, so that became the color of choice.
I found some Kilz Latex Primer in the attic and decided to use that as well. In the early days of writing this blog, I used to paint furniture without primer, now I'm a primer convert. You really must use it on furniture that will have any sort of where and tear.
Here's what I did:
1) Lightly sanded the chair. I think I used medium grit sandpaper and just roughed-it-up. It is okay if you can still see the stained "color." You used want to make the surface rough--so that it is not slick--so the paint will stick to it.
2) Next, I used a microfiber cloth to wipe-it-down. Then used baby wipes. And when it was dried, used a swiffer wipe to do another wipe-down.
3) I painted one thin layer of primer. Look back over your work every few minutes for drops or runs. Let it dry well.
4) Now technique is a little more important with the regular paint. Jenny, on Little Green Notebook, does a good job if explaining painting technique. Work one section at a time. Paint a thin layer and use long strokes. Let dry well.
5) Now, I did something very different on this chair that I've never done on painted furniture. I put on about 3-4 layers of paint and SANDED between each layer for a SMOOTH, factory-like finish. It is very important to use the finest grain sandpaper available--and be careful on the edges where you might take of more paint. By my third layer of painted, I REALLY sanded and got the smoothest surface; it really is incredible. I'm shocked that someone can achieve such a smooth surface when painting at home. I wish I had know all along how to do this!

Super-smooth surface

Sanding between layers--sandpaper wedges are awesome!
*A lesson from painting: Paint all the wood. Yep, just go ahead and do it. I thought I painted enough, but had to go back after the fabric was on and paint placed where the wood stain was showing. Don't make the same mistake!
Part 5 Covering the Chair with Fabric
1. First, I began by laying the fabric over the chair. I did not label my new fabric pieces because I thought it would be easy to figure out since there were just three. It wasn't so easy, so it would be wise to pin paper to each piece of fabric saying if is front, back, etc. and also including more precise instructions like: "this side attaches to front of chair."

I tried to estimate the center of the pattern/piece and put a pin there, so I could line up the bottom piece.
2. Next I laid the foam and batting back on the chair. The front back and front bottom pieces were laid on the chair.


3. For this particular chair (and it changes from chair to chair which is why it is important to note how your chair was constructed), I pulled the bottom piece and top piece through the opening in the back of the chair and attached these pieces with a few staples. Don't do too many in case you have to take them out to adjust the fabric or (like I had to!) start over!

Pulling fabric through the back of the chair and stapling. (Too many staples--don't make this mistake!)


4. I'm not really sure what the best order is to staple your fabric to the chair. I began with the front seat, then moved to the the front back and finally added the panel on the back of the chair last. The back of the chair should go on last, but as for the front seat or front chair back, I guess it depends on which seems easiest with your chair.
I stapled away thinking that my chair looked great. I'll go ahead and tell you that after all that stapling, the fabric pattern hadn't lined up correctly. Tugging here and there, I tried to fix it, but nothing seemed to work. After anguishing over the decision, I decided to rip-up the chair fabric on the bottom, which I had just added. There was enough extra fabric to cut another piece....
When I began, I wasn't sure exactly how I would use the cording, but the more I stapled, the more trim I decided to add! It will cover your staples, so if you can staple the fabric near the borders, you can probably cover it with trim, which is what I ended up doing.

Front/Center of Chair--stapling underneath.

Turn under the fabric around the arms and staple in place.


5. Feeling pleased with how things were going, disaster struck again. I had not made my cuts correctly and the fabric wasn't going to cover the entire area on one of the sides. Anguish again. Should I, for the second time, rip-off the fabric, go to the store and buy more and start over again? I decided against this. My chair, I determined, would not look professionally upholstered, but I didn't care. I knew where it would sit in my living room and the side that came up short faced away from sight. So, I carefully lined-up the fabric and tried to hide my mistake.

Oh no!

Matching the pattern...

(not sure why Blogger is automatically rotating these incorrectly!) Stapling fabric to cover mistake.

Oh no! Nearly the same problem on the other side....I think my trim will cover it!
6. I finished stapling the seat bottom and seat back (all on the front.) Time for the back.

7. The original plan was to use the crazy metal...not even sure what the word is...medieval devices for torture?... on the chair.


8. Plan B. Now, I would have to staple the fabric, and I wanted to do this without showing the staples.
* Note: Staples come in different lengths. I used shorter ones for stapling the fabric to the chair, but when the fabric was doubled-up and thick, I would switch to the longer staples. If your staples are not going in flat against the wood, they may be too long.

This is the top of the chair.
Note that the fabric (in the above pictures) is flipped over the front of the chair, so you can attach it without the staples showing. (Flip the fabric over to attach it the the sides and bottom of the back of the chair, picture below.) Ultimately, this didn't matter. After I decided I would put trim everywhere to cover mistakes, I ended up stapling the top so that the staples showed.

Fabric flipped back over.
The pattern didn't match, and at this point, I didn't care. All I wanted to do was finish!
10. Oh no! Not again! For the third time, my fabric was not covering the frame. After a brief brainstorming session, I decided to fold the fabric diagonally and staple it into place--knowing that I would cover it with trim.


11. The absolute best part of DIY projects is the finishing detail; in this case: the trim! After trying super glue (which didn't work and smelled terrible), I went back to the good, ole' reliable glue gun. I ran the trim around the back of the chair and made a cut. Then ran it around the remainder of the chair to make sure I had enough trim, which I did.
At first, I put the glue directly onto the fabric, but quickly realized the putting it on the trim then pressing the trim against the fabric yielded the best looking result.
Homestretch!!


Biggest mistake not looking as bad with trim...
The second mistake was covered by the trim--phew!

The third mistake was covered by trim as well (no picture.)
So, I hot glued all over the chair, sewed and lumbar pillows and was done.....


Thanks for reading!
Carson


