Earlier this year, I posted about two cross-bar stools. At the time, I spray painted the legs black, but knew that I eventually wanted to recover them. I am embarrassed to say that I never finished the post; therefore, I started where I had left-off finishing this project just prior to the birth of baby #2. Though that was 6 weeks ago, I'm just getting around to publishing the post.
________________________________________________________________
My sister-in-law, who is an interior designer/owner of Kathryn Robertson, suggested that I get cross bar stools to put in front of my fireplace. What a great idea! Only....I could not find affordable upholstered stools.
I felt confident that I could find an alternative and found great stools for $60 each at Sears/Kmart.
Not a bad deal! I never liked the cherry finish, so I spray-painted them with high-gloss black Krylon spraypoint. (Sorry-I deleted pictures of the stool!)
About two months ago, I was at U-Fab and spotted the perfect fabric for these stools, which I purchased, but they remained uncovered until last week. In an effort to distract myself from the impending birth of baby #2, I decided to bite the bullet and recover the stools. The process ended up being easier than I thought:
As with any reupholstry project, begin by deconstructing the furniture noting how the piece was put together. Taking pictures is a good idea for helping you remember how to re-assemble the piece.
Next, I used scissors and pliers to remove the leopard fabric. The original stools were tufted, and when I began the reupholstry project, I thought I would tuft my stools, but ended-up deciding again it. If your stools are tufted, pay careful attention to how the buttons are attached to the bottom of the stool.
I tried to remove as much of the fabric and staples as I could, but it was difficult to get it all.
Next, I cut my two yards of fabric into two, one-yard pieces. I centered the foam wrapped frame on top of the fabric (upside down) being sure to line-up the pattern--just eyeballing it.
Next I stapled a center staple on all for sides making sure to fabric had equal tension on all sides and that the pattern was straight. Next, I added many staples to the sides until I got near the corners.
Decide how you want your fabric to fold at the corners--play around with it a bit--then pick a method for folding. Use the same method for folding on every corner.
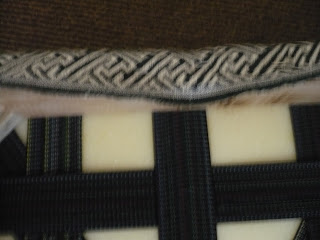
Be sure to cut back the fabric so that is doesn't cover the holes where you will re-attach the legs of the stool:
This project didn't take too long since I decided not to tuft the stools.
Here are the before and after stools pictured together:
After:
Thanks for reading!
Carson


3 comments:
Big improvement! Very nice work as well-the corners look great.
I'm constantly wanting to make new slipcovers or upholster a piece but never get it done.
Thanks for the inspiration.
Thank you for your comments!
Im going to use your advice to reupholster a chair I have that has a wooden back. Just the big seat cushion will be changed.. Hope it works as well as your stool did :)
Post a Comment